Tim was inking acetate for one of his tags, then stamping and blotting the ink away. Well, being impatient, I didn't manage to even wait for the ink to dry on my tag before thinking I know better... though to be fair, the ink was left for a good couple of hours (and even now, 12 hours later it is still wet! I think it may never dry..) So instead of waiting for it to dry, i just stamped into the ink which left uninked bits and looked like this
I'm not sure how it will look when it dries! I already have a card in mind for it, so hoping that it will dry and I can back it with something dark to make it show up well.
I then wanted to have a go at embossing on acetate, having a particular card in mind already with a background I didn't want covered up too much... I wasn't sure if it would work (or just melt the acetate!) but it came out brilliantly - although I think one of those static dusters would be a good idea in future as there were lots of stragglers which needed moving!
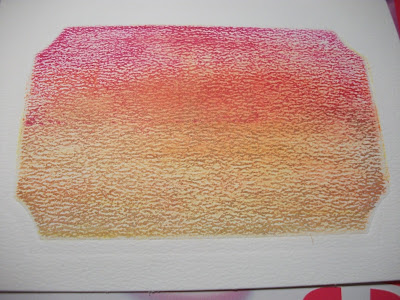
On someone's blog (I can't remember where, or I would credit them - sorry!) they had run a spellbinders die through their machine but without actually cutting the shape, just leaving an imprint. I gave it a go today and managed to find the right sandwich. I've bent my cutting pads (oops) so they don't give exactly the same pressure everywhere, but if I bought some new ones I could see this being a brilliant technique. I've used it on the card blank below, and if you look really close you can see the outline. I then masked the outside and inked up the front with a brayer and various inks, finishing with gold - next post for finished card :) the card blank is textured so it gives a nice wave to the ink - not a nice clear blend!
And finally, the below card is the start of another 'scraps' card, using the aperture cut for a spellbinders shape, and loads of offcuts. I plan to turn this into a 'man card' lol.


No comments:
Post a Comment